Wallpaper Installation
Wallpaper can brighten up a room, change its mood and style, and make it feel warmer and cozier. It can also make a small room feel bigger and lighter. Ready to start your project?

Professional Wallpaper Installation Services in Southwest Florida
Wallpaper offers various benefits for transforming and protecting your living space. It can brighten a room, change its mood, and make small spaces feel larger and cozier. In high-traffic areas like hallways or children’s rooms, wallpaper adds a protective layer, preventing scuffs and minor damage. Its wide variety of colors, designs, and textures allows you to personalize your space, and unlike paint, wallpaper lasts longer—up to 15 years. It's also easy to update when you want a change, and can be used creatively, even on bookshelves or cabinet backs.
Here are the crucial steps for a successful wallpaper installation project
1.Preparation
Clear the room of furniture and cover the floor. Make sure the walls are smooth, clean, and free of old wallpaper or imperfections. Sand down rough spots and apply a primer for better adhesion.
2.Measuring
Measure the height and width of your walls to calculate how many wallpaper rolls you’ll need. Be sure to add extra for pattern matching and mistakes.
3.Cutting the Wallpaper
Cut the wallpaper strips to fit the height of the walls, leaving a few extra inches at the top and bottom to trim later. If the wallpaper has a pattern, align it carefully across strips.
4.Applying Adhesive
Depending on the wallpaper type, either apply wallpaper paste to the back of the strips or soak pre-pasted wallpaper in water as per the manufacturer’s instructions.
5.Hanging
Start in a corner or at a focal point of the room. Hang the first strip, ensuring it’s perfectly vertical by using a plumb line or level. Smooth out the paper with a brush or wallpaper smoother to remove air bubbles.
6.Matching Patterns
When hanging the next strip, ensure that the patterns align perfectly. Slight overlaps can be trimmed later for a seamless look.
7.Trimming
After hanging the strips, trim excess wallpaper along the ceiling, baseboards, and around outlets or switches with a sharp utility knife.
8.Final Smoothing
Use a wallpaper smoother to press down the wallpaper firmly, especially around edges and seams, ensuring no air pockets or bubbles remain.
9.Cleaning
Wipe down the wallpaper with a damp sponge to remove excess adhesive, taking care not to damage the surface.
10.Drying
Allow the wallpaper to dry completely before moving furniture back or making any touch-ups.
If the following steps sound too overwhelming and you don’t want to take a risk and skip straight to a professional-looking wallpaper installation please contact Avlas Group so we can help.
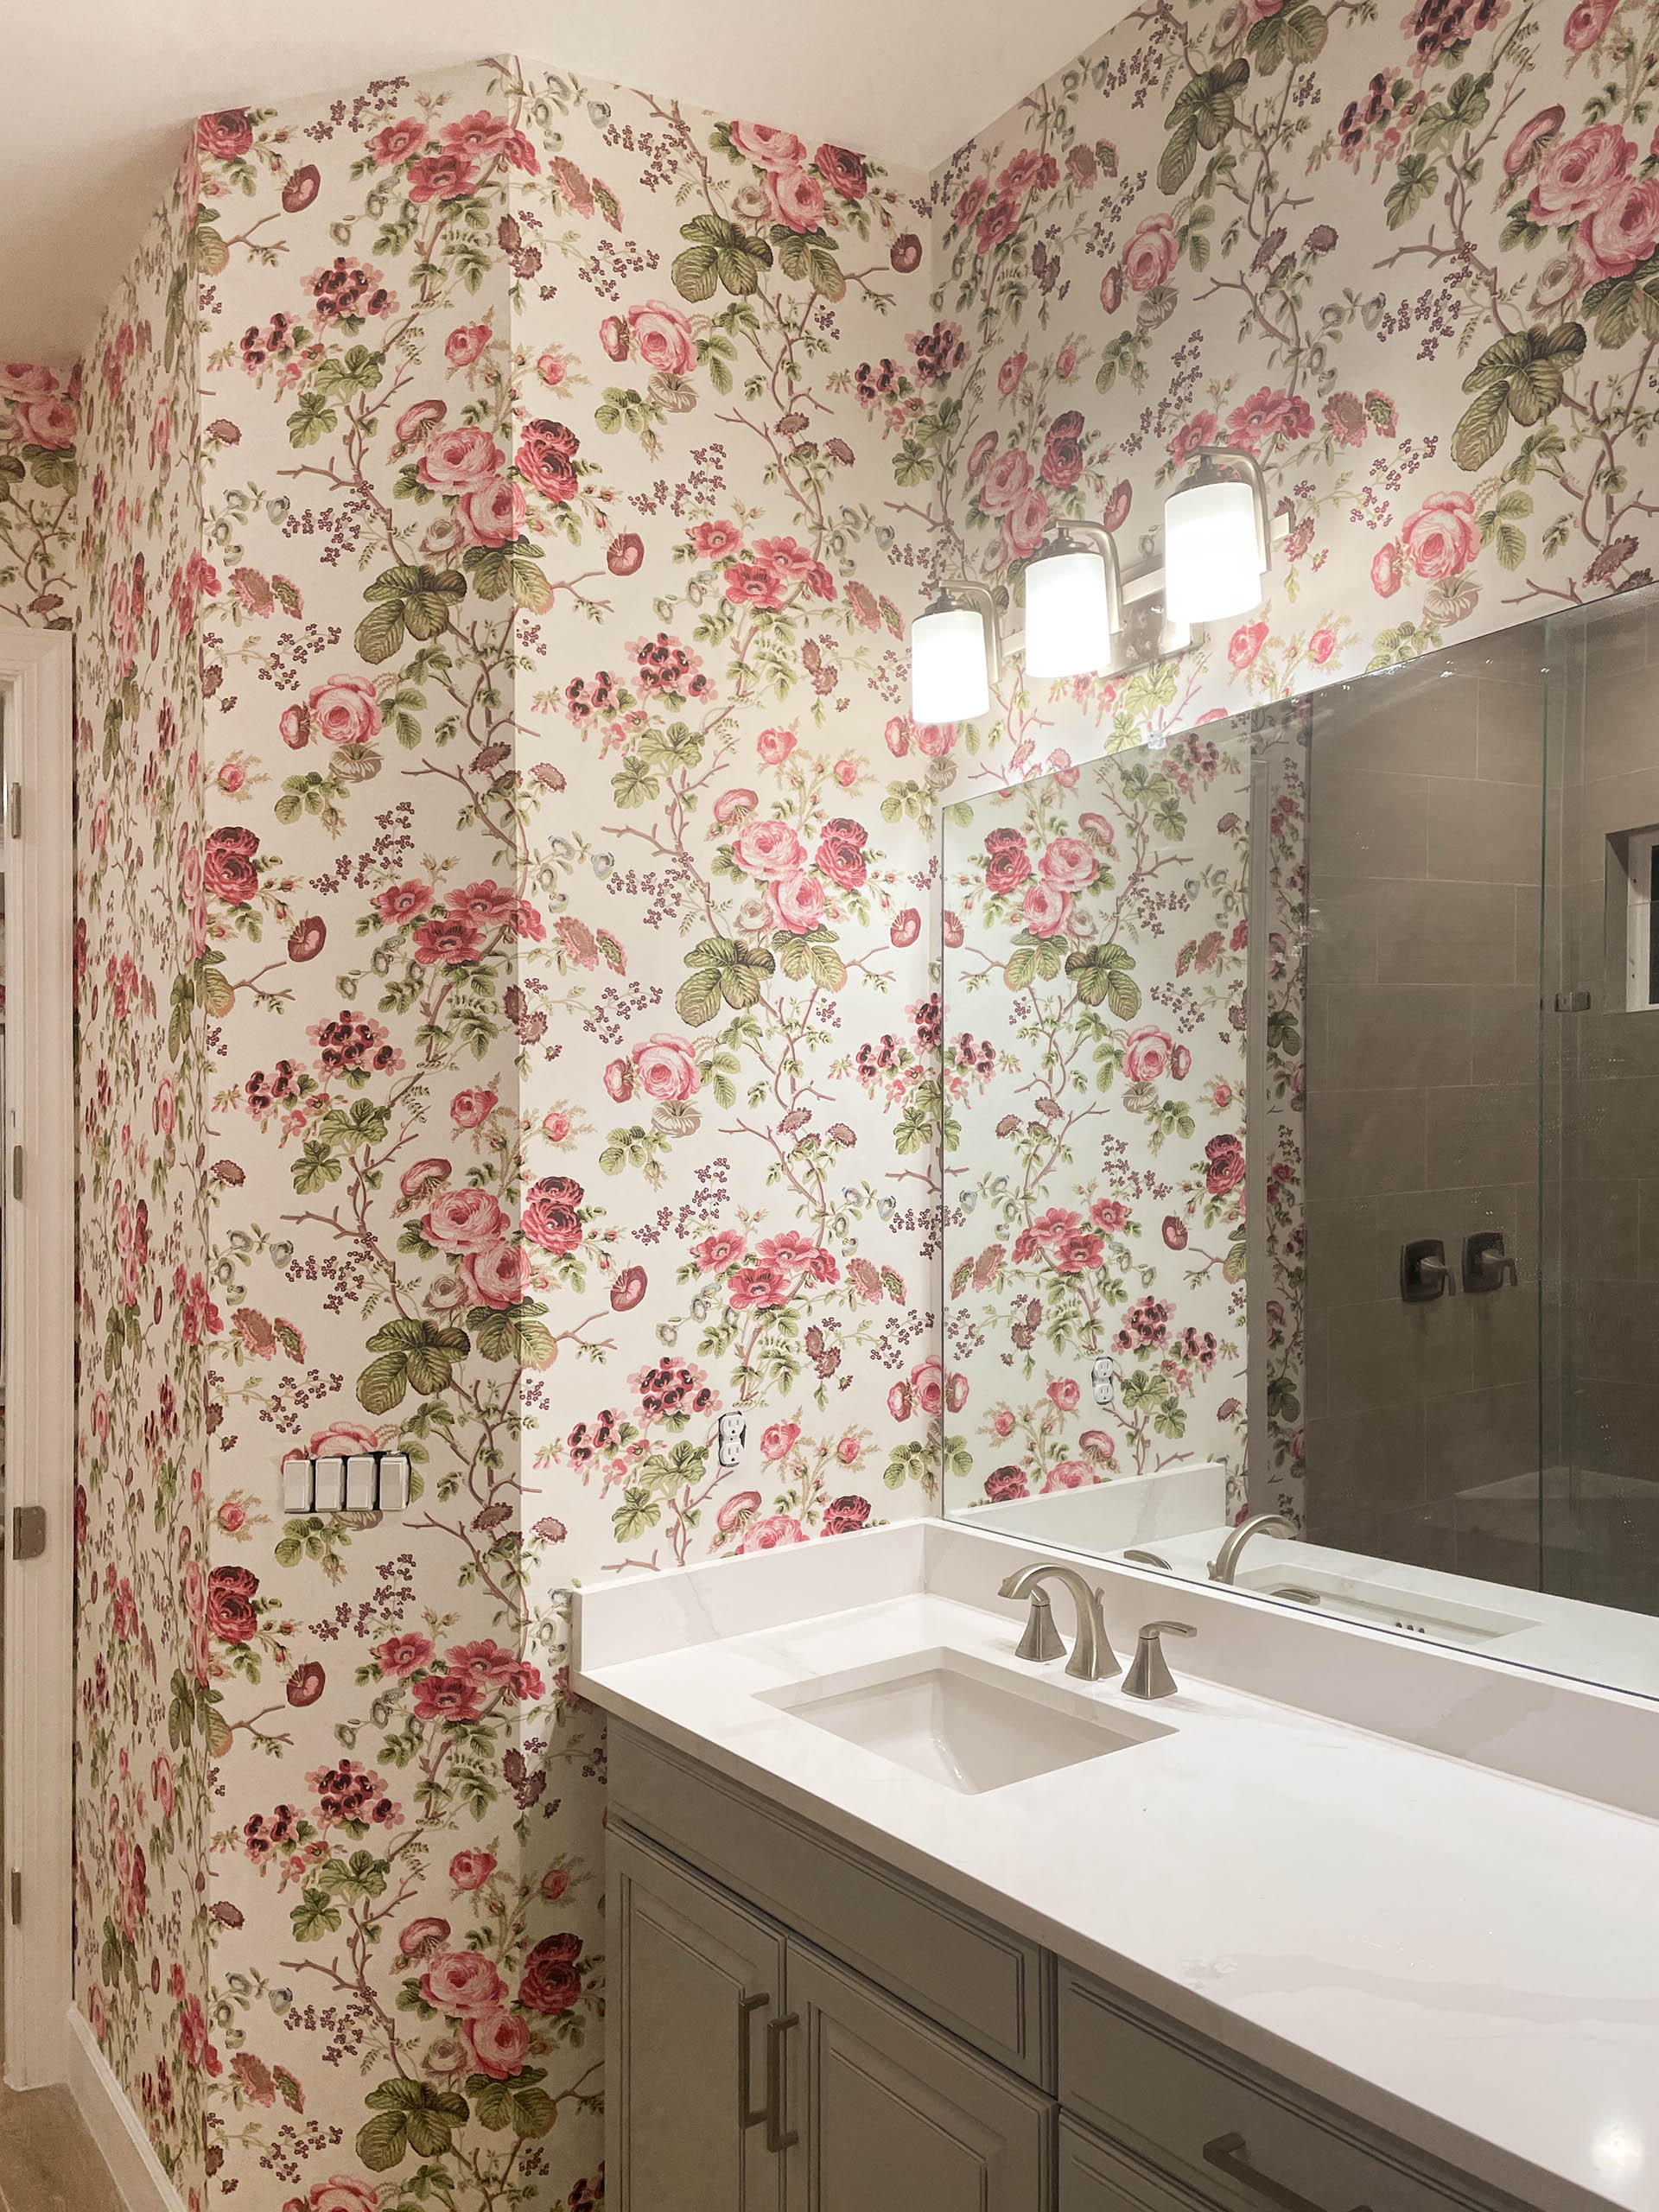
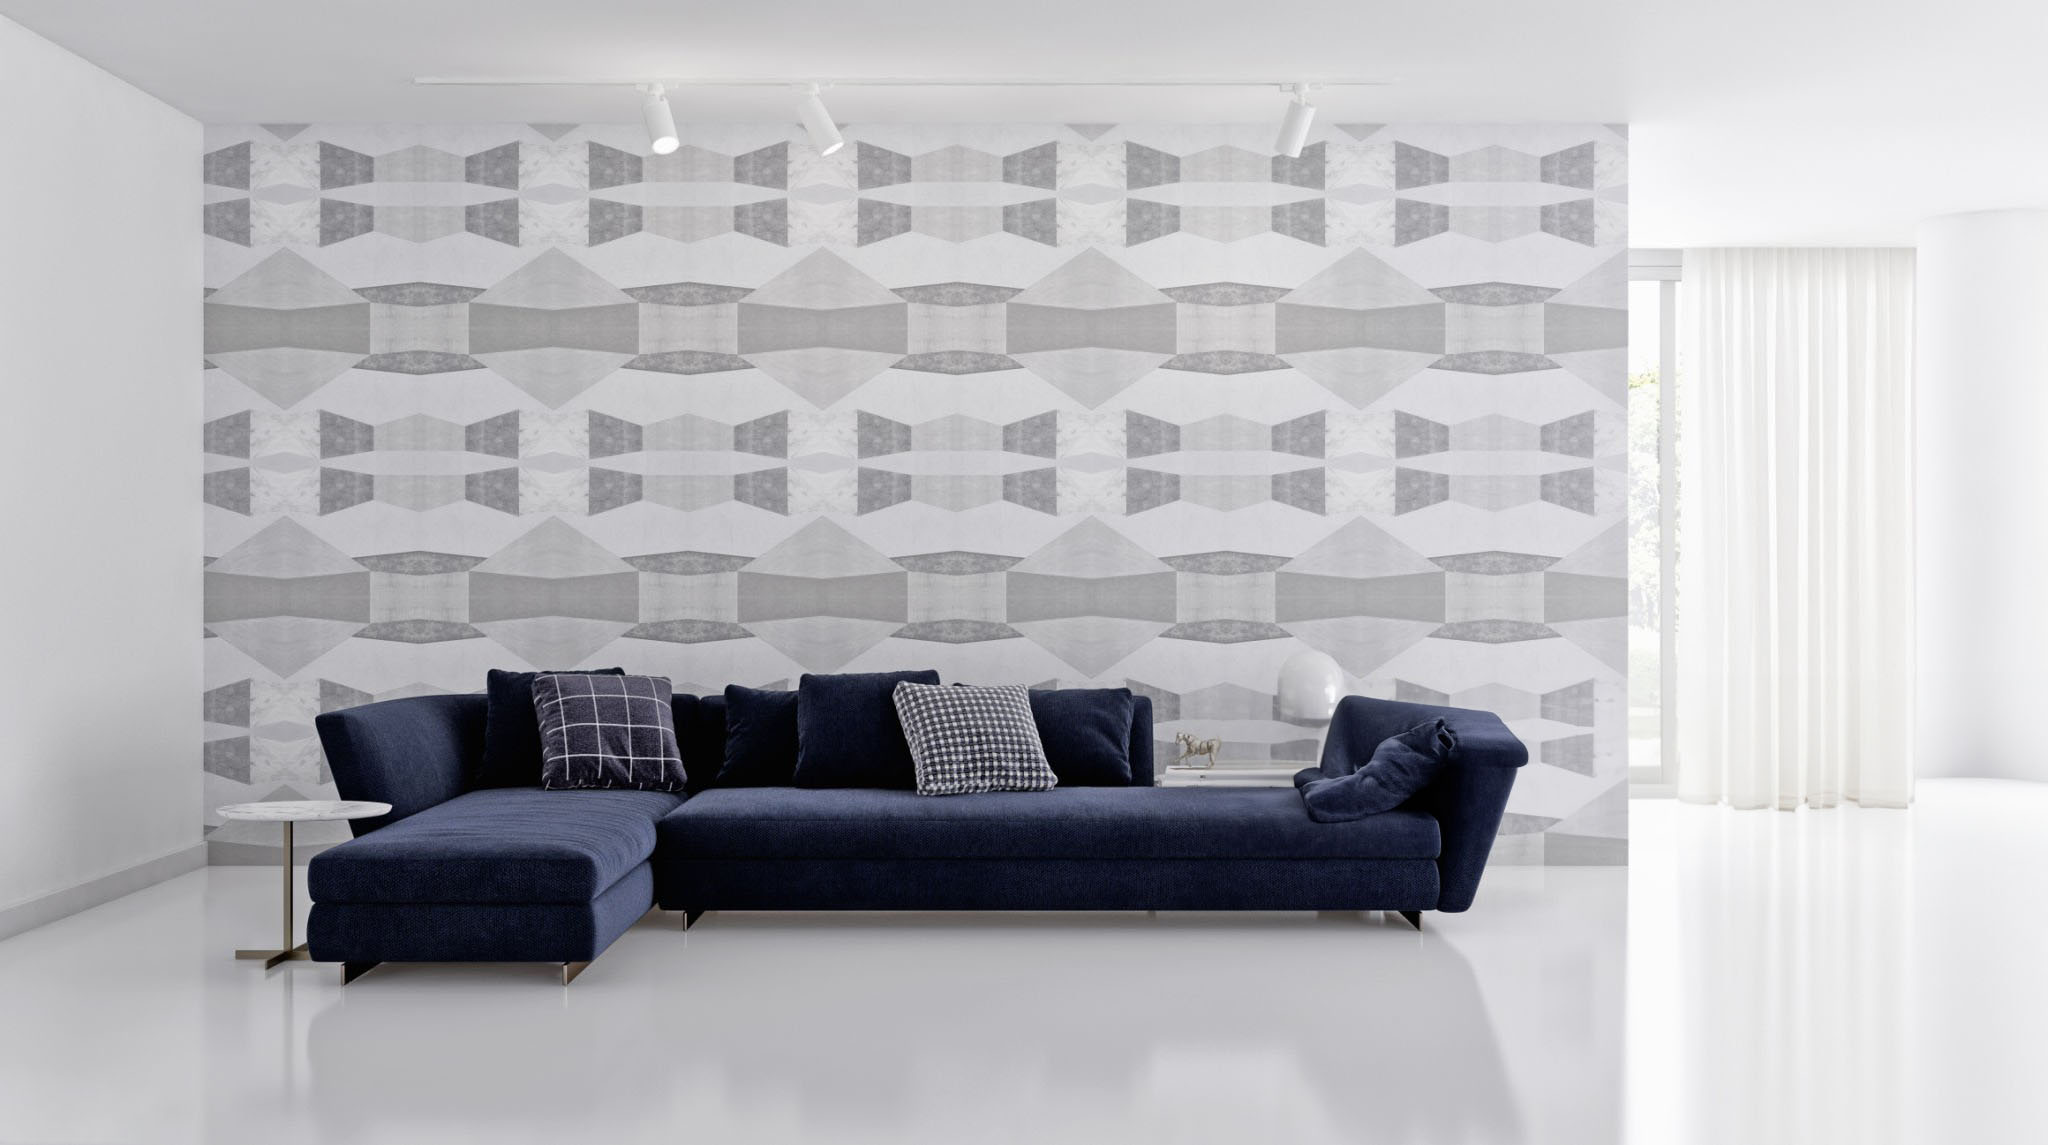
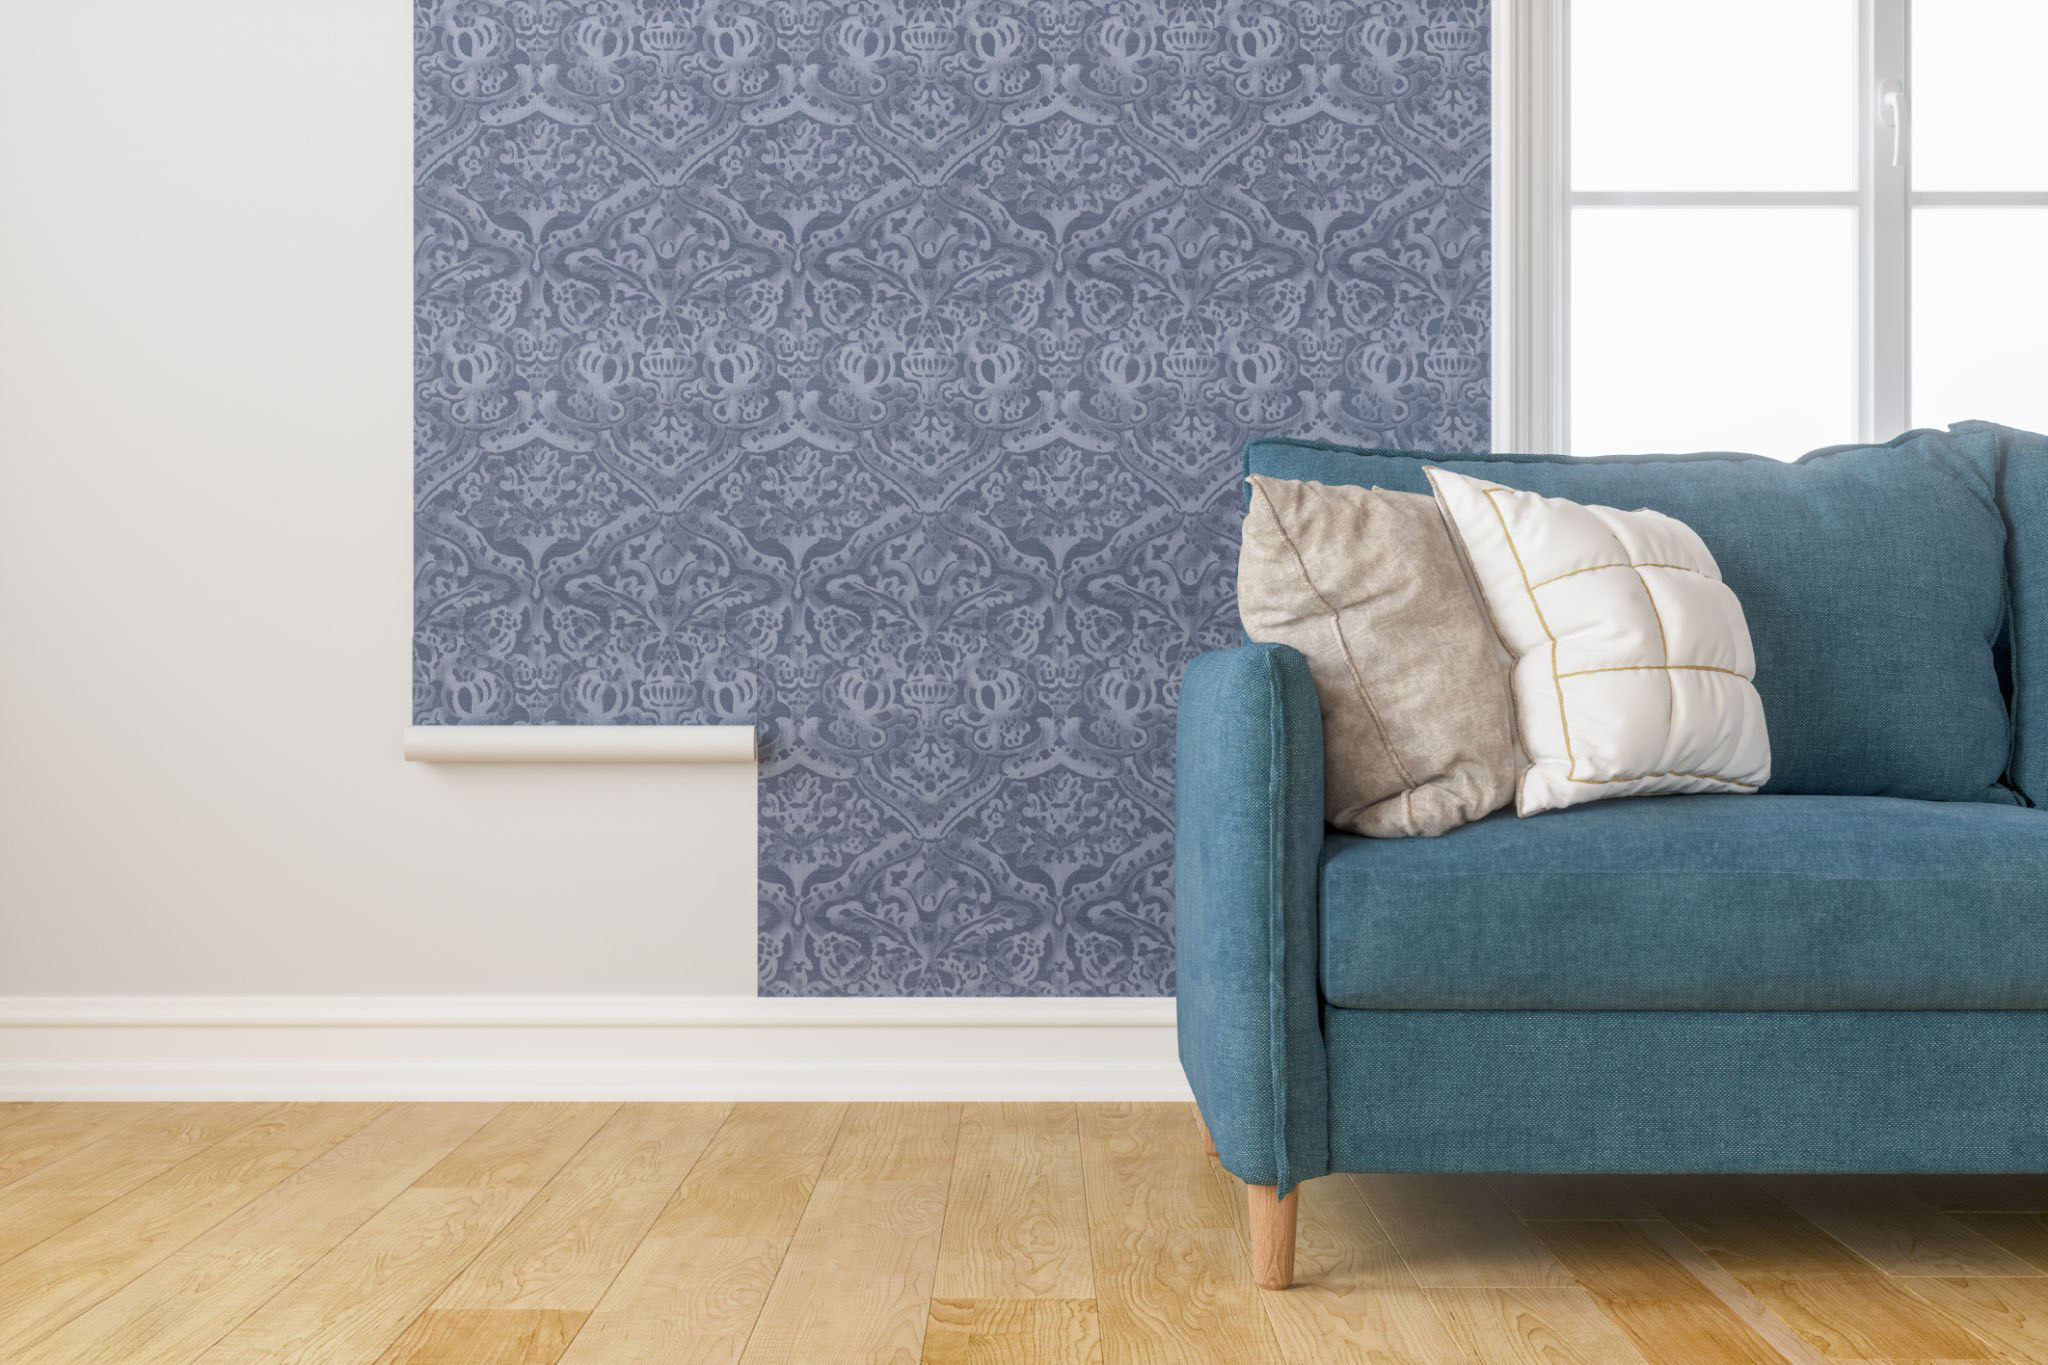
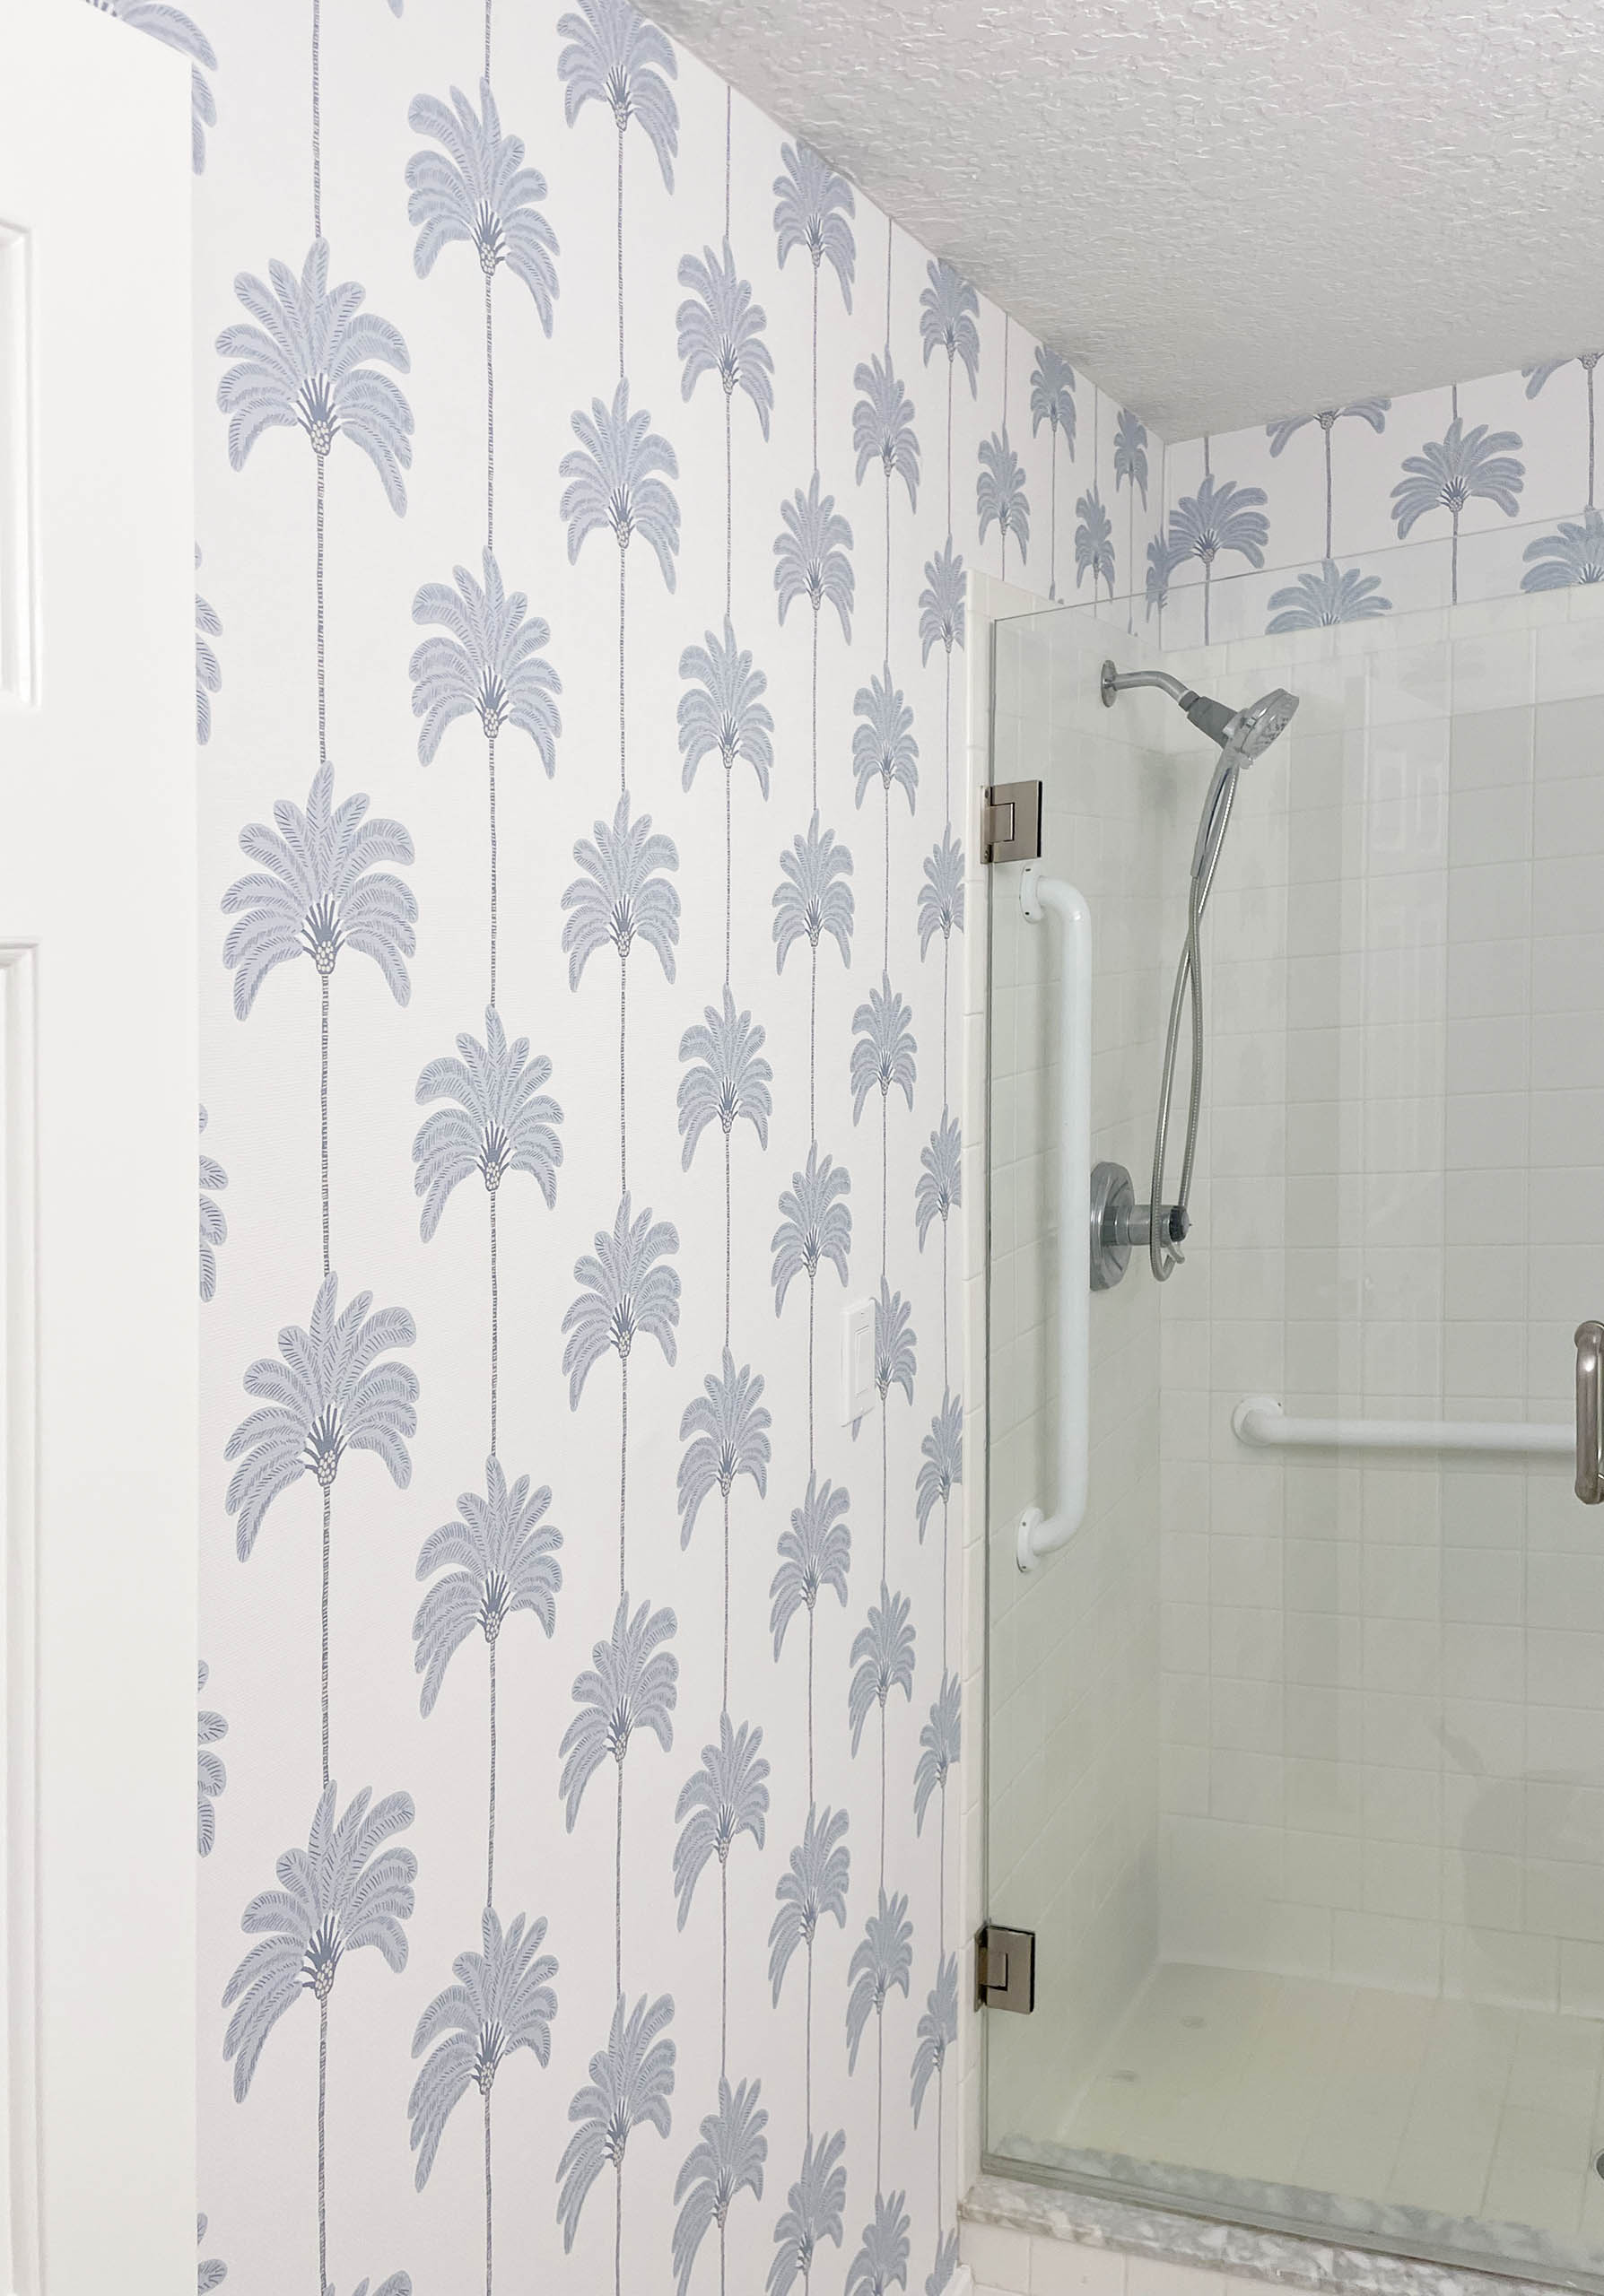
Explore our stunning gallery of wallpaper projects, guaranteed to spark your creativity and inspire


Contact Avlas Group
Ready to tackle your project?
You can call us at (239) 682-3644 or submit a form below.

Browse Our Other Services
Hurricane Repair and Renovations
After recent storms, many homes in SW Florida, are in need of expert repairs. We specialize in hurricane damage restoration.

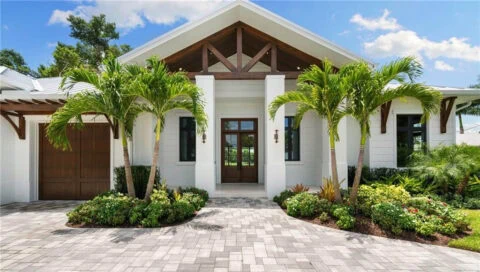
House Renovations
Avlas Group General Contractor transforms your home with expert remodeling, handling design, planning, and construction with exceptional craftsmanship and detail.

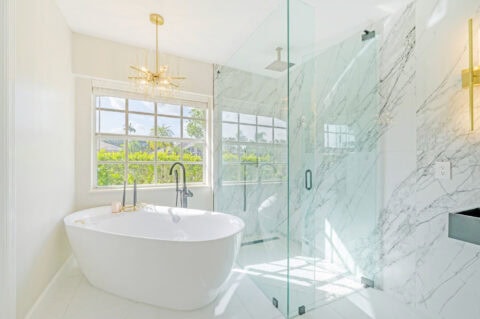
Bathroom Remodeling
As a premier Naples general contractor, we transform your bathroom into a functional, comfortable, and aesthetically pleasing sanctuary, exceeding expectations.

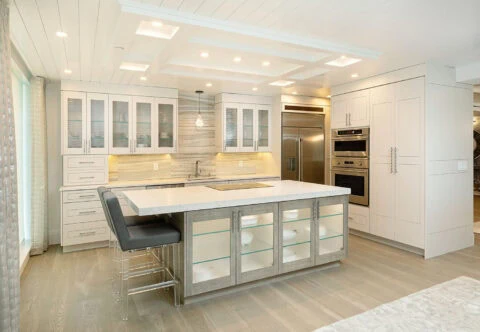
Kitchen Remodeling
We turn your kitchen into a functional, stylish centerpiece, reflecting your vision and enhancing daily living with modern aesthetics.

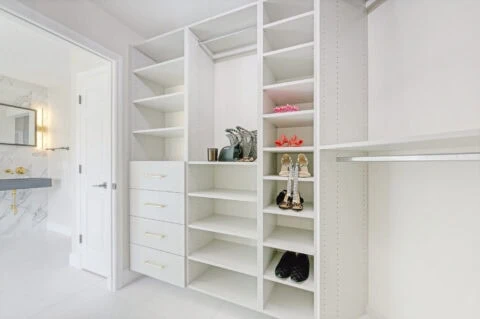
Closets and Storage
We design and build custom closets and garage storage, maximizing space and style for an organized, efficient, and beautiful home.
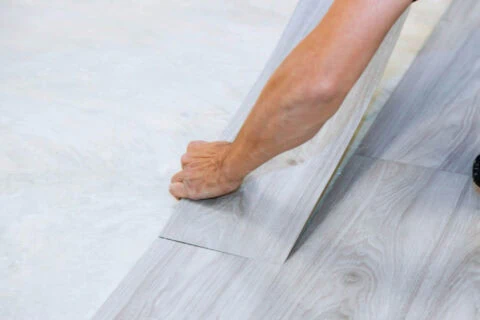
Custom Flooring
As top Naples contractors, we offer expert custom flooring in wood, tile, laminate, and vinyl, enhancing beauty, value, and functionality.